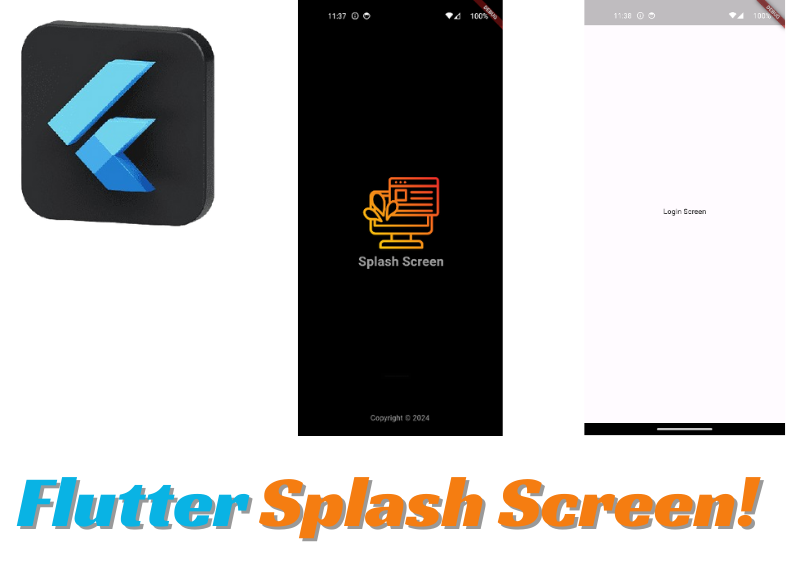
how to create Splash Screen in flutter app
Create your flutter project by using the following command in terminal/cmd
flutter create splashscreen << your project name hereonce project is created then create new dart file in lib folder with name of splash_screen.

as we know its a splash screen we need to add the timer to set the delay for this screen add initstate in your splash screen
void initState() {
super.initState();
  Timer(const Duration(seconds: 4), () {
    Navigator.push(
        context,
        MaterialPageRoute(
          builder: (context) => const LoginScreen(),
        ));
  });
}
Wrap Scaffold widget and then set the background color. Now wrap column widget because we want to show the content in hierarchy one after other and also we can take multiple widgets in column.
Scaffold(
  backgroundColor: Colors.black12,
  body: Column(
    mainAxisAlignment: MainAxisAlignment.center,
    crossAxisAlignment: CrossAxisAlignment.center,
    children: [],
  ),
);
lets set image widget in our column in center screen
Note( use your image name with extension which you added in your assets folder or in assets/images folder)
Image.asset(height: 150, width: 150, 'assets/images/splash-page.png'),adjust image height and width as per your requirement
lets add text below image
const Text(
  'Splash Screen',
  style: TextStyle(
      fontSize: 25,
      fontWeight: FontWeight.bold,
      color: Colors.white60),
),
adjust styling for your text e.g ( font size, fontweight, color etc)
at the last lets add another text widget at bottom screen
 Text(
              '© ${DateFormat('yyyy').format(DateTime.now())} Your Company',
              style: TextStyle(fontSize: 12, color: Colors.grey),
            ),

main.dart
import 'package:flutter/material.dart';
import 'package:splashscreen/splash_screen.dart';

void main() {
  runApp(const MyApp());
}

class MyApp extends StatelessWidget {
  const MyApp({super.key});

  // This widget is the root of your application.
  @override
  Widget build(BuildContext context) {
    return MaterialApp(
      title: 'Flutter Demo',
      theme: ThemeData(
        colorScheme: ColorScheme.fromSeed(seedColor: Colors.deepPurple),
        useMaterial3: true,
      ),
      home: const SplashScreen(),
    );
  }
}
spalshscreen.dart
import 'package:flutter/material.dart';
import 'package:intl/intl.dart';
class SplashScreen extends StatefulWidget {
  @override
  _SplashScreenState createState() => _SplashScreenState();
}

class _SplashScreenState extends State<SplashScreen> {
  @override
  void initState() {
    super.initState();
    // Add any initialization logic here, such as loading data or performing tasks
    // For example, you could navigate to another screen after a delay using a Timer
    // Timer(Duration(seconds: 3), () {
    //   Navigator.of(context).pushReplacement(MaterialPageRoute(builder: (_) => LoginScreen()));
    // });
  }

  @override
  Widget build(BuildContext context) {
    return Scaffold(
      backgroundColor: Colors.white,
      body: Center(
        child: Column(
          mainAxisAlignment: MainAxisAlignment.center,
          children: [
            // Image
            Image.asset(
              'assets/images/splash_image.png', // Replace with the path to your image file
              width: 150,
              height: 150,
            ),
            SizedBox(height: 20),
            // Text
            Text(
              'Welcome to My App',
              style: TextStyle(fontSize: 20, fontWeight: FontWeight.bold),
            ),
            // Copyright text
            Spacer(),
            Text(
              '© ${DateFormat('yyyy').format(DateTime.now())} Your Company',
              style: TextStyle(fontSize: 12, color: Colors.grey),
            ),
            SizedBox(height: 10),
          ],
        ),
      ),
    );
  }
}
create login/home screen where you want to redirect from your splash screen
import 'package:flutter/material.dart';

class LoginScreen extends StatelessWidget {
  const LoginScreen({super.key});

  @override
  Widget build(BuildContext context) {
    return Scaffold(
      body: Container(
        child: Center(child: Text('Login Screen')),
      ),
    );
  }
}
allow assets in your pubspec.yaml by uncommenting the assets/images. or to allow all assets in your assets folder
assets:

  - assets/images/.  # you can use folder  also if you need to use full assets folder  you can use - assets/


